When I was a girl, I absolutely loved paper dolls, the easy dressing of a fabulous woman, changing her appearance in an instant – It was so much easier than taking off those skinny leggings of Barbie or Skipper’s sweater that just seemed to be impossible to get over her big ol’ head, or humongous boobs for that matter (Barbie’s that is, Skipper was still dreaming of those ta-tas)
At some point I realized, now as a grown up, I could make my own paper doll though! I have “iconic” outfits. that scream my name when I wear them and I just felt like doing something uber fun, without any pressure, a fun project just for myself. Making this doll, I thought a lot about what I am, who I am, and how I am perceived by others or how I would like to be perceived. A very interesting stunt, almost therapeutic, if you will.

Joan Son at the Printing Museum Houston
In the midst of this paper doll project, I had my artsy fashion friend from Germany visiting. Knowing that she is very versatile in the art of printing, I took her to the Printing museum in Houston. What do I see? The fabulous paper dolls by paper artist Joan Son. I knew that was a sign to keep working on my sketches and complete my project and maybe actually write about it, because apparently, I am not the only adult that enjoys paper dolls!


I made several sketches and re-worked the look many times but in the end decided to go for the more simplified design, rather than paint too many details. I liked it sleek better.
Well, I was so surprised when my doll turned out so well, that I definitely wanted to share my excitement with y’all.

So here’s not only my paper doll to download , for fun, but an easy step-by-step on how to give it a go yourself with the help of Procreate.
Download my Paper Doll
How to paper doll:
- Come up with the concept.
- Start drawing
- Wardrobe Ideas
- Arrange
- Tweak for printing
- Concept
Before starting the project, you need to ask yourself: Do you want to make a doll for yourself, a friend, a child or your mother? You could even make one for your husband/boyfriend (or partner of whatever sex or gender, that is) with some more risqué fashion. Maybe make a mock doll? You leave the doll on the kitchen counter before leaving for work, letting him know what you will be wearing that night, or might not be wearing J
A child might want a more baby dollish looking figurine, or a cartoon dog? Why not something more like Miss Piggy? (Sorry, I am a huge fan of the pig!)
2. Start drawing:
I used the Procreate app for very obvious reasons, as this is my go-to app to draw on the iPad. However, of course this will also work by hand. All you need is some shear paper or tracing paper.
However, before you even get to work on this project, read through my tips below. I got so excited when I first started that i messed up a lot first, so here is some advise what to consider:
Grouping layers: I started by grouping layers per outfit and actually naming them (I hardly ever do that). That way it was easy to keep track of changes and adjustments later.
Lock and Alphalock!: I also locked my individual layers, just in case. When I went to work on the actual colors and materials I alphalocked the neccessary layers to be sure not to change the fitting of my clothing.
Use the opacity slider! When drawing over your lower layers (your body), use the opacity slider to double check your clothes are not too big, which will influence the attachment of the garments later. I kept the opacity to a minimum while drawing the outlines and went back to 100% once I was ready to fill out the details.
Think of standardized fitting: Like a tailor 🙂 I used one standard blouse “pattern”, if you will, and then copied that layer accordingly and amended the key elements, that way I was sure the fitting would be the same for all.

The actual work:
Draw your mannequin
Boy, was this a project! I forgot how difficult it was to draw yourself, without exaggerating in any directions, on the one hand I don’t want myself to look like a donkey, but I am honest enough to know that I’m no J.Lo – You can’t win her!. However, I preferred to focus on what my trademarks are. In my case: hips, and boobs and an itsy tiny waist (it could be worse, I know). My face could be blank for all I care, and surely does not look like myself, but you can’t have everything.
Here are some important things to remember while drawing:
- Don’t make the arms and legs too thin, you need to cut out your figure, so make sure you don’t have too many narrow or curly parts.
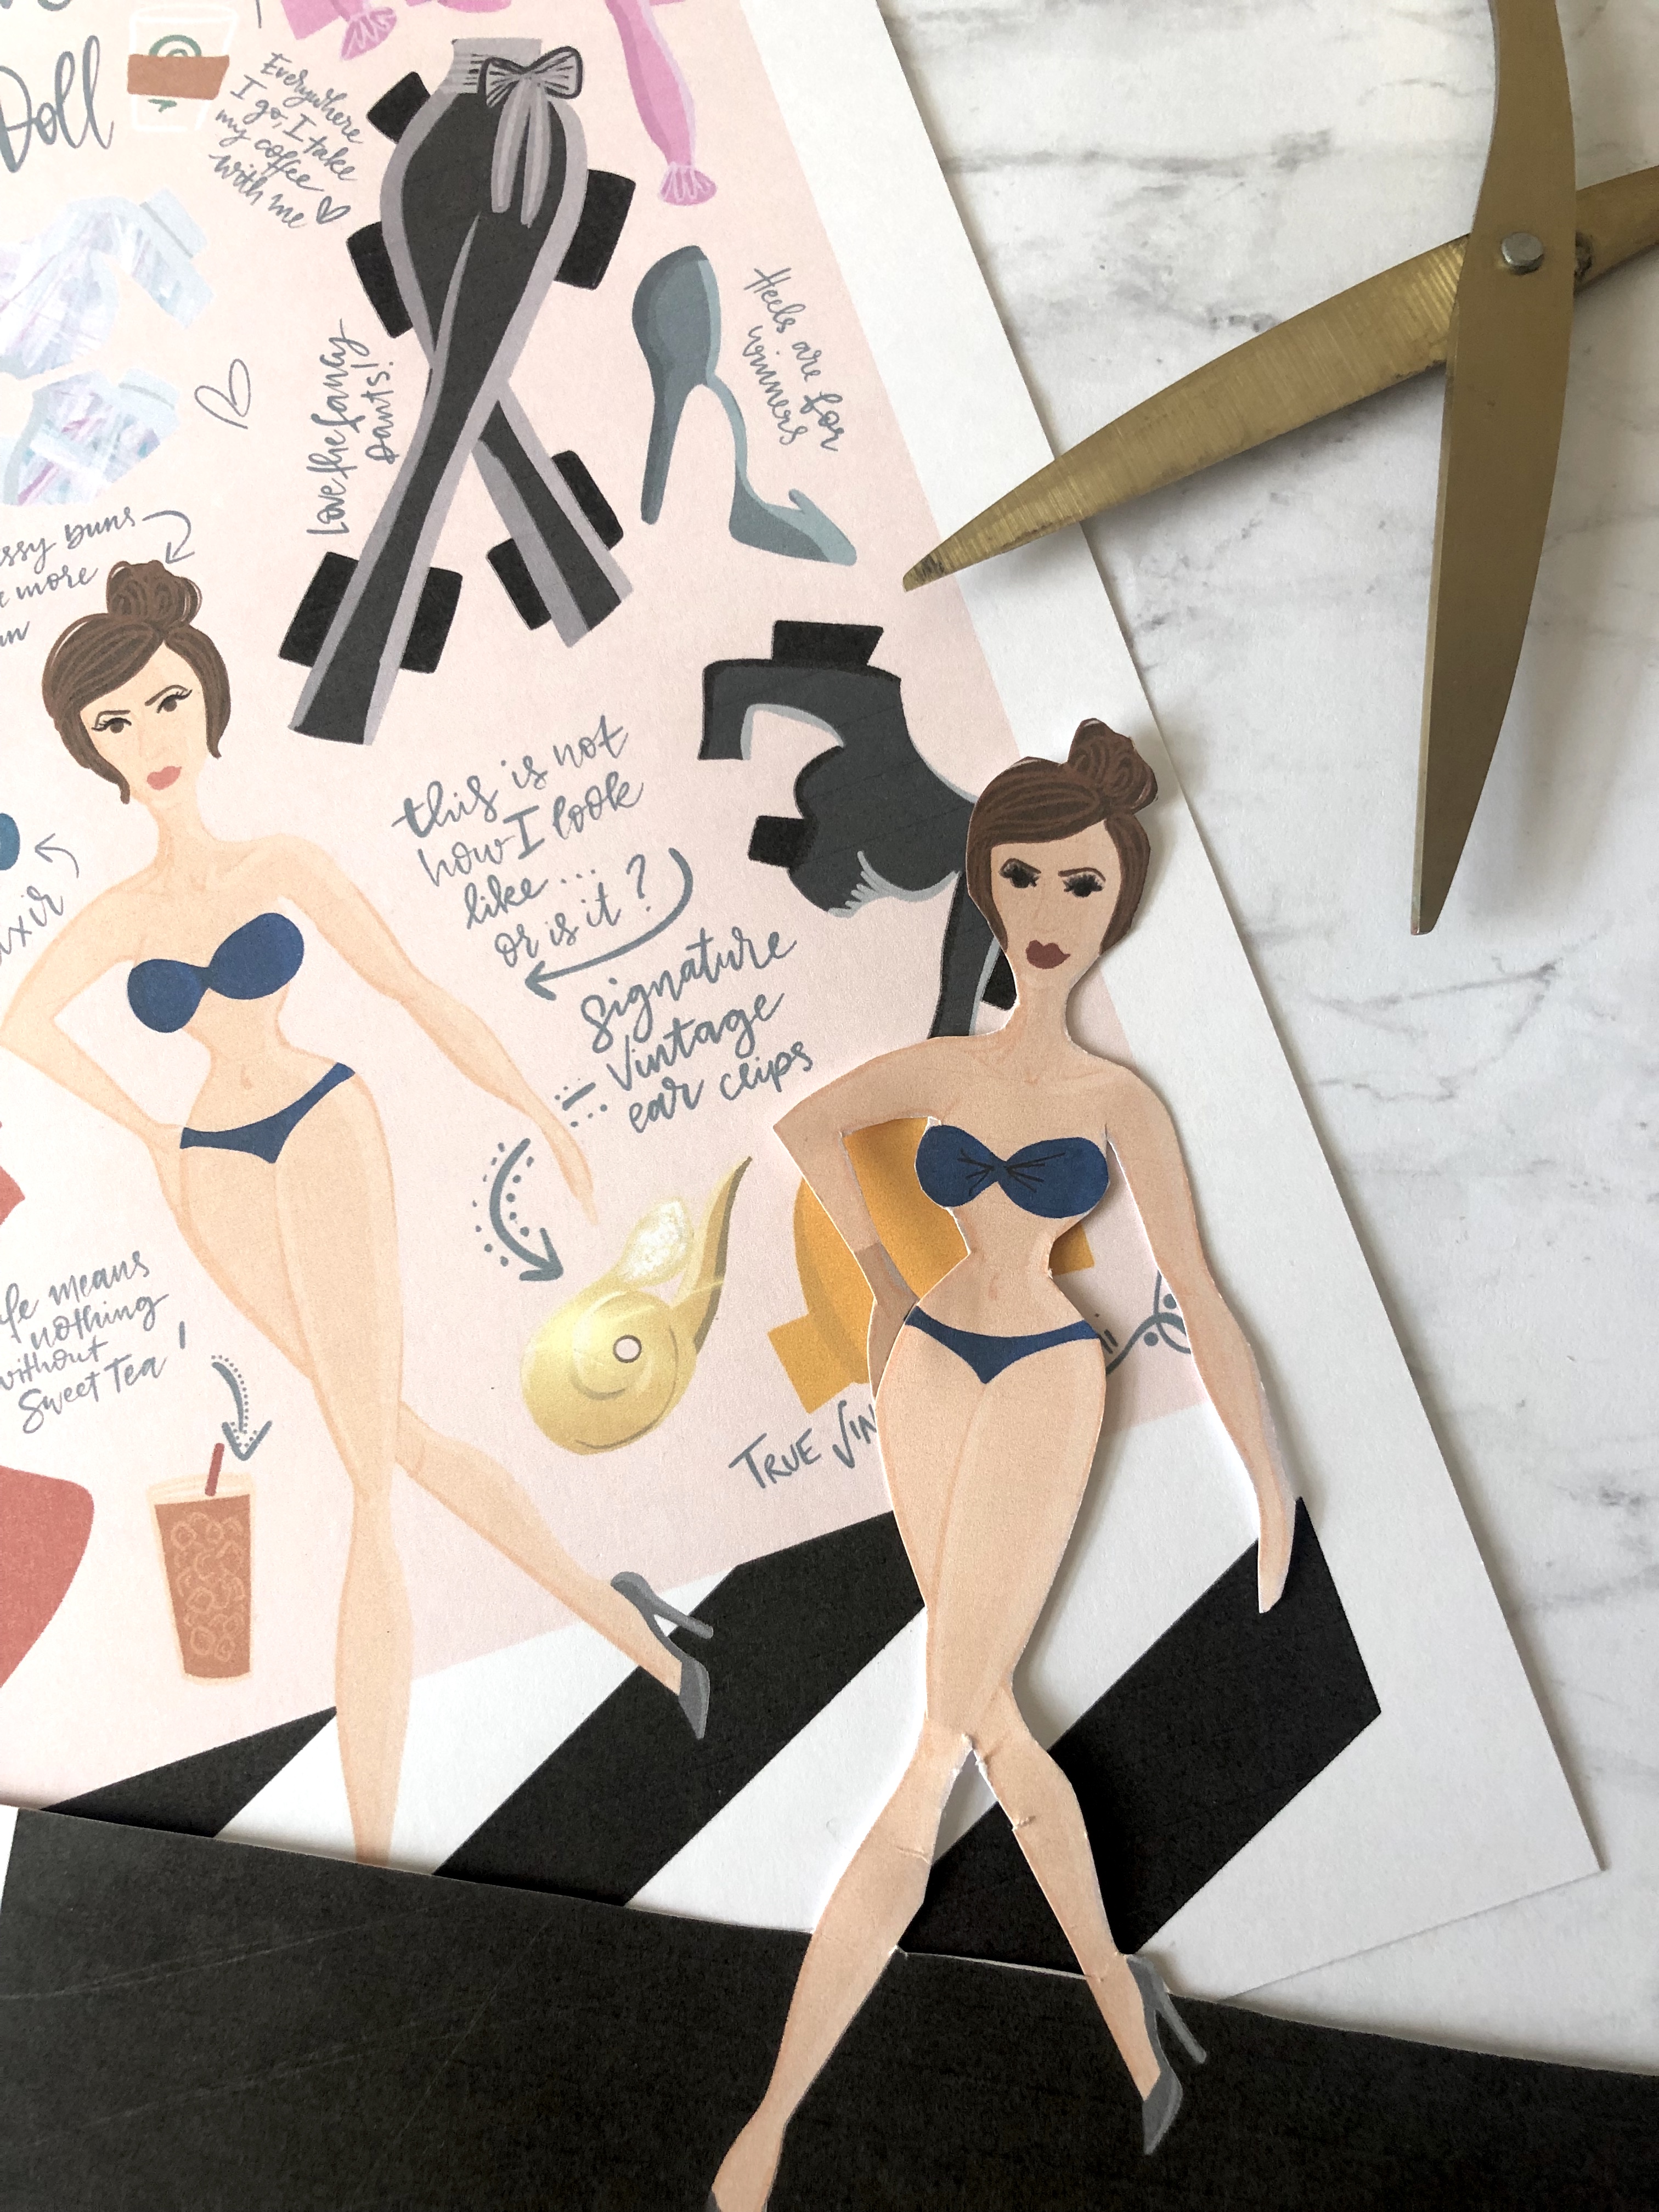
- Decide whether you want a stand for your doll or not (the black and white bar resembling a pedestrian crossing, I used)
- In case you have a stand, remember that it will be difficult to change your shoes and bottom clothing, so draw shoes that fit to everything. Stilettos for me 🙂
3. Wardrobe Ideas
For me it was simple. I went through my closet and remembered my most fabulous outfits from my most memorable life events.

For your sex-buddy, you may want to get inspired by Victoria’s Secret, or maybe even go on a shopping spree beforehand to stock up on some hot sexy mama wear (If you did not just read that with Johnny Bravo’s voice, I will be super disappointed!)
4.Arrange
To be able to print it easily without wasting any paper, you will want to arrange your items neatly on the sheet accordingly. In addition, decorate your pages matching your theme. Little Teddy’s for your niece? Sex toys or Handcuffs for your honey bun? I went for symbols that meant something to me, as this was a fun project for myself. This way, to be honest, I focused entirely on what I am, what makes me visually outstanding and unique and what my appearance is all about: My favorite sweet tea, signature trademark ear clips or the 4 inch heels… I’m telling ya, this a great project for self-awareness!
Also, then I just wrote little descriptions of the items to explain what they mean to me (the world!)
Heels are for winners
5. Tweaking for Printing
In case you actually want to try your paper doll and not just make one for fun, you should try printing and cutting out all your items. In one or two dry-runs yoou will see if anything needs changing, the colors might need adjustment or you just need more grip flaps to keep that skirt on your big ol’ hips (happened to me, I know what I’m talking about!).
I hope y’all enjoy the project and have just as much fun with this as I did creating it.


Hi Karen, I checked out your blog and I really like it. I couldn’t find your contact info so I’m trying to reach you in the comments (sorry)! I’m running a Blogger Outreach Program and would like to know if you’re interested in collabs – we are doing free blog makeovers! Let me know via olivia@blogerize.com and I can give you more details. Thanks!
LikeLike